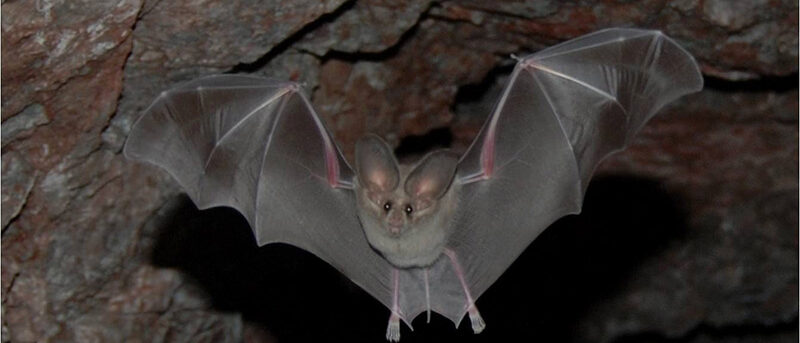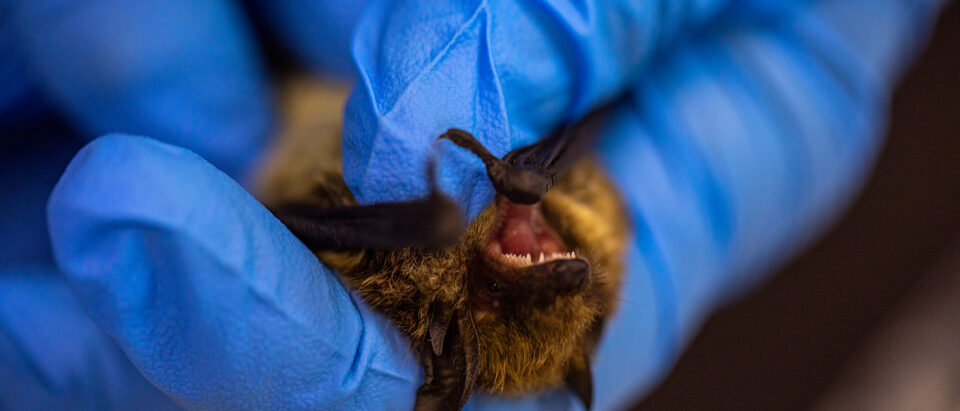
Bat exclusion cone valve installed on roof soffit

How to Install a Bat Exclusion Valve (2026)

TITLE: How to Install a Bat Exclusion Valve (2026) CATEGORY: bat-control (ID 54) SITE: wildanimalscentral.com DESIGN: INFO ARTICLE FOCUS KEYWORD: bat exclusion valve installation

One bat entry point can let an entire colony into your attic.

and sealing it without an exclusion valve is how you trap them inside to die or migrate into your living space. Bat exclusion valves , also called bat cones or check valves , lets bats crawl out on their own schedule but prevents them from reentering.

This guide walks you through installing one on a house or building so you solve the problem humanely and permanently. We cover materials, step-by-step installation, timing, and the critical pre-work required before you seal anything.

Disclaimer: This guide is for educational purposes only. Bat exclusion work may be regulated by local wildlife laws, especially during maternity season. In many regions, bats are protected species, and certain species are endangered. Always check your local laws and consult a licensed wildlife control professional before performing exclusion work. Do not seal bats inside a structure , it is inhumane, illegal in many areas, and creates a far worse dead-animal odor problem. This article does not replace professional advice.

Key Takeaways

  • One-way exit only: A bat exclusion valve (cone or tube) allows bats to leave but blocks reentry, solving the problem without trapping animals inside.
  • Install after a dusk count: Never seal any opening until you have confirmed no bats remain inside. Watch the roost exit at sunset and count every bat that leaves for at least three consecutive evenings.
  • Spring and fall are the windows: Install before maternity season (pups are flightless and will die trapped inside) or after young bats are volant. Late summer and early fall are the safest periods.
  • Seal everything else first: The valve goes over the primary entry point, but you must also caulk, mesh, or foam every other gap , bats can squeeze through a crack as small as 3/8 inch (9.5 mm).
Bat exclusion cone installed over a gap at a roof soffit with caulk sealing around the edges

What You Need to Install a Bat Exclusion Valve

Materials and Tools

  • Bat exclusion valve (cone or tube): A purpose-built one-way device. Polyethylene bat cones are the most common; tubular netting valves also work. Purchase from wildlife supply stores , do not DIY this with hardware-store parts that can trap bats.
  • Ladder: Extension ladder tall enough to reach the entry point safely. Have a spotter hold the base.
  • Screwdriver or drill: For securing the valve flange to wood, masonry, or vinyl. Self-tapping screws for metal surfaces.
  • Caulk and caulk gun: Exterior-grade silicone or polyurethane sealant to close gaps around the valve and seal other openings.
  • 1/4 inch hardware cloth: Galvanized steel mesh for sealing larger openings, vents, and gaps the cone alone won’t cover. This is the gold standard for bat exclusion.
  • Gloves: Thick work gloves (bat guano can carry Histoplasma capsulatum). Disposable nitrile gloves underneath for handling any cleaning materials.

How to Install a Bat Exclusion Valve , Step by Step

Step 1: Identify All Entry Points

Inspect the entire roofline, soffits, fascia, chimney flashing, ridge vents, gable vents, and any utility penetrations during daylight.

Look for staining around gaps (bats leave dark, greasy rub marks from the oils in their fur), piles of guano on the ground or on window sills, and the sound of chirping or scratching inside walls. Mark every potential opening with chalk or tape.

Step 2: Conduct a Dusk Emergence Count

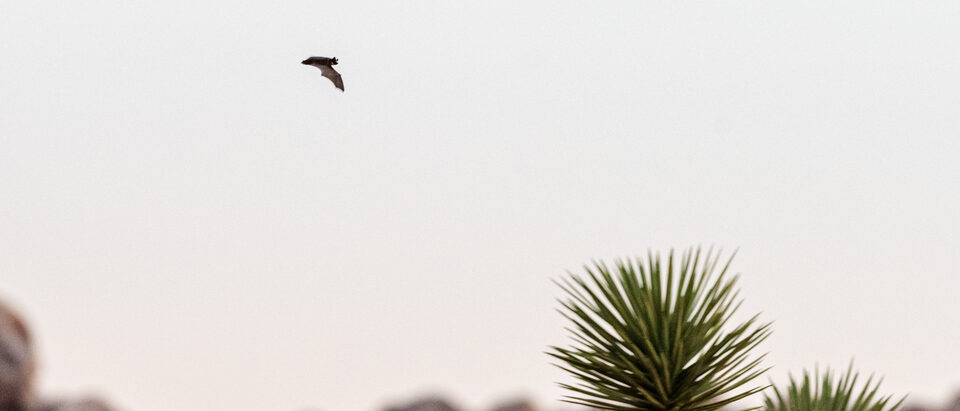
On a calm evening, position yourself 30-50 feet from the suspected primary exit about 30 minutes before sunset. Count every bat that exits.

Do this for at least three consecutive nights. If you see bats reentering at dawn, mark that opening too. Do not proceed to step 3 until you are certain all bats have left for the night , installing a valve during daylight traps them inside.

Step 3: Seal All Gaps Except the Primary Exit

Using caulk, 1/4 inch hardware cloth (cut to size with tin snips), expanding foam (for larger voids), or aluminum flashing, close every opening you identified , except the one you will fit with the exclusion valve.

Pay special attention to soffit joints, chimney gaps, utility conduit entries, and any crack wider than 3/8 inch. This step ensures bats cannot find an alternate route back in once the valve is up.

Step 4: Install the Exclusion Valve Over the Primary Entry Point

Position the bat cone or tubular valve directly over the final gap. The wide end of the cone mounts to the building surface; the narrow end extends outward and downward so exiting bats can crawl out but cannot climb back in against the smooth interior.

Secure the flange with screws (every 2-3 inches) or exterior-grade staples if attaching to wood. Caulk around the entire perimeter of the flange , gaps here defeat the purpose. For tubular netting valves, secure the opening with a zip tie and tape seal, then attach the tube low so it hangs straight down.

Step 5: Wait 7 to 10 Days Before Final Sealing

Leave the valve in place for at least one week. Check the outside of the cone each evening , you should see no bats trying to reenter, and no bats stuck inside the valve.

If you hear scratching from inside longer than 10 days, you may have a pup stuck or a secondary colony; stop and call a professional wildlife removal service. Do not remove the valve early.

Step 6: Remove the Valve and Permanently Seal the Gap

Once you confirm the roost is empty, typically after 7 to 10 days with no activity, remove the exclusion valve. Seal the opening permanently with 1/4 inch hardware cloth secured by screws and covered with exterior-grade caulk or cement.

For larger soffit gaps, screw a patch of plywood coated in hardware cloth over the area, then caulk every seam. Inspect the entire exclusion area twice a year thereafter , look for loosened mesh, cracked caulk, or new gaps.

When to Install a Bat Exclusion Valve

Timing is the single most important factor in bat exclusion. Install at the wrong time and you can orphan flightless baby bats inside your attic, which is both inhumane and creates a serious odor and infestation problem once the pups die.

Spring: Before Maternity Season (March , Early May)

In most of North America, bats form maternity colonies from May through July or early August. If you install before the females return to give birth , typically late March through early May, depending on your region , you prevent the colony from establishing.

If you see bats in April, assume pregnant females are present and wait unless you are certain the roost is a bachelor colony. When in doubt, consult a wildlife biologist or licensed exclusion professional.

Fall: After Young Bats Are Volant (August , October)

The safest window for exclusion is late summer through early fall, after the pups have fledged and are flying on their own (typically by mid-August).

Bats begin migrating or seeking hibernation sites (hibernacula) in October and November, so complete the work before temperatures drop below 50 degrees Fahrenheit , cold bats are sluggish and may not leave the roost to feed.

After Dusk: The Right Time of Day to Install

Install the exclusion valve in the late afternoon or early evening, after you have confirmed via emergence counts that all bats have left the roost for the night. Never install during the day while bats are roosting , this seals them inside. If you are not 100 percent sure the roost is empty, wait one more night and count again.

Pro Tip: Do not skip the dusk emergence count , even if you are sure you only have one entry point. A single bat that does not exit the night you install the valve will die inside your attic, and a dead bat decomposes fast. Count bats emerging for at least three consecutive nights and record the number. If the number drops significantly from night to night , say, 30 bats on night one and 8 on night three , you may have a secondary exit you missed. Keep counting until the numbers stabilize.

Frequently Asked Questions

How long does a bat exclusion valve need to stay on?

A minimum of 7 days and ideally 10 to 14 days. This covers the feeding cycle , bats leave nightly to forage, and the extra days ensure stragglers or temporarily grounded bats are not trapped inside. Check the valve daily for any bat stuck in the cone.

Can I make my own bat exclusion valve from hardware store parts?

You can, but commercial bat cones are designed with the correct interior slope and smooth surface that bats cannot grip. Homemade PVC or mesh valves often have rough edges or insufficient taper that lets bats climb back up.

For the cost (typically $10 to $20 per cone), buying a purpose-made valve is safer and more effective. Do not use bird netting , bats entangle themselves and die.

Will a bat exclusion valve work on a chimney?

Yes, but chimney exclusion requires a stainless steel or heavy-gauge galvanized valve that can withstand heat and weather.

You must also cap the chimney flue with a stainless steel chimney cap with 1/4 inch mesh after the bats have exited. Chimney swifts (birds) are also protected in many regions , confirm the species before installing anything over a flue.

What happens if I install the valve during maternity season?

Flightless pups die inside the roost. The mother bat cannot reach them to nurse, and within a few days the dead pups begin to decompose, creating a strong odor, fly infestations, and a potential health hazard from Histoplasma capsulatum spores in the guano.

Many states prohibit exclusion during maternity season (typically May 1 through August 15) by law. Fines can exceed $1,000 per incident.

How do I know if bats are gone after the exclusion period?

Watch the roost area at dusk for five consecutive evenings after removing the valve. Zero bats seen entering or exiting is the only reliable sign.

You can also install a temporary piece of clear plastic sheeting taped over the opening on three sides (like a flap) , if bats push out, the flap moves; if the flap stays still for a week, the roost is empty.

Listen for scratching or chirping inside the wall or attic during the day. If you hear sounds, do not seal , call a wildlife professional.

Related Resources

Need the right tools? See our best bat exclusion products guide. For cost estimates, check bat removal costs and the wildlife removal cost overview.

Not comfortable working at heights? Read DIY vs Professional Wildlife Removal.

Why Trust Us

WildAnimalsCentral.com has been covering wildlife exclusion and pest control since 2015. Our contributors include certified wildlife control operators and Nuisance Wildlife Control Operators (NWCO) with hands-on experience performing bat exclusion on residential and commercial structures across North America.

Every article is fact-checked against published guidelines from Bat Conservation International, the National Wildlife Control Operators Association (NWCOA), and applicable state wildlife agency regulations.

Medical Disclaimer: Bat guano can contain Histoplasma capsulatum, the fungus that causes histoplasmosis , a serious respiratory infection. Always wear an N95 respirator when working in areas with accumulated bat droppings. If you suspect you have been bitten or scratched by a bat, wash the wound thoroughly with soap and water and seek medical attention immediately. Rabies is rare but nearly always fatal once symptoms appear, and bat bites can be too small to notice. Post-exposure prophylaxis (PEP) is highly effective when administered promptly.