
Before you can seal bats out of your house, you have to find every way they’re getting in. That’s what an inspection is, and it’s the step most people skip. Bats can squeeze through a gap as small as 3/8 inch, about the width of a pencil eraser, so the entry points are easy to miss. I’ll walk you through a full inspection, starting from the outside.
- Start outside at dusk. Watching where bats leave is the single most reliable way to find the entry points.
- Know the usual suspects. Soffit vents, ridge vents, gable vents, chimneys, and fascia gaps are where bats get in.
- Look for the evidence. Rub marks, guano, urine stains, and an ammonia smell all point to an active roost.
- Bring the right tools. A good flashlight, a ladder, binoculars, and a cheap borescope get the job done.
Step 1: The Dusk Survey
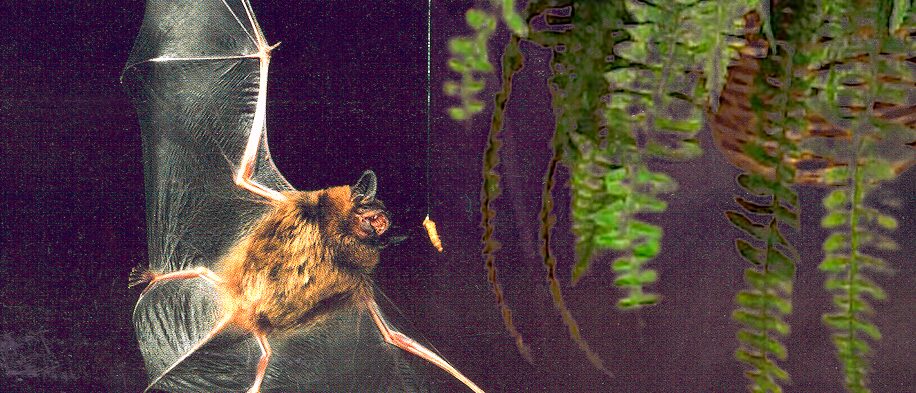
The best inspection technique costs nothing. At sunset, stand where you can see the roofline and watch. Bats leave at dusk to feed, so you’ll see them drop out from under eaves, vents, and chimneys. Count them as they go.
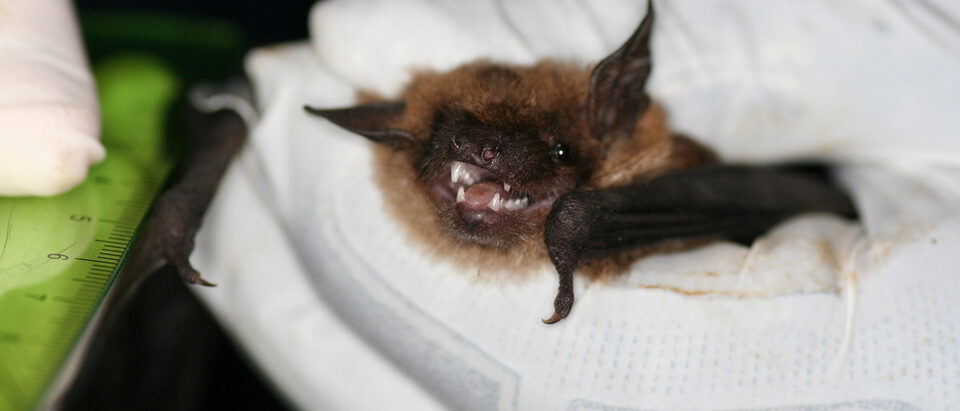
A count of ten to twenty bats means a small to medium colony. Fifty or more is a large one that probably needs a pro. The most common attic bats across the country are big brown and little brown bats, and both are small enough to slip through a tiny gap.
Step 2: Inspect the Exterior
Once you know roughly where they’re coming from, go look in daylight. Take a ladder and a bright flashlight and check each of these:
- Soffit vents. Loose or damaged soffit panels are a favorite entry.
- Gable vents. Check the gaps around the vent frame.
- Ridge vents. These can separate from the roof deck and leave a gap.
- Chimney caps. A missing or broken cap is an open door.
- Roof flashing. Separated flashing around chimneys and skylights leaves gaps.
- Fascia and trim. Loose or rotting boards open up at the roofline.
- Siding gaps. Where siding meets the roof, a 3/8 inch gap is all they need.
- Utility lines. Where cables and wires enter the roof is often overlooked.
While you’re up there, look for dark, oily rub marks around the openings. Bats have oily fur, and repeated entry leaves a stain on wood, vinyl, or metal that’s often easier to spot than the gap itself.
Step 3: Inspect the Attic Interior
Go into the attic with a flashlight and look for:
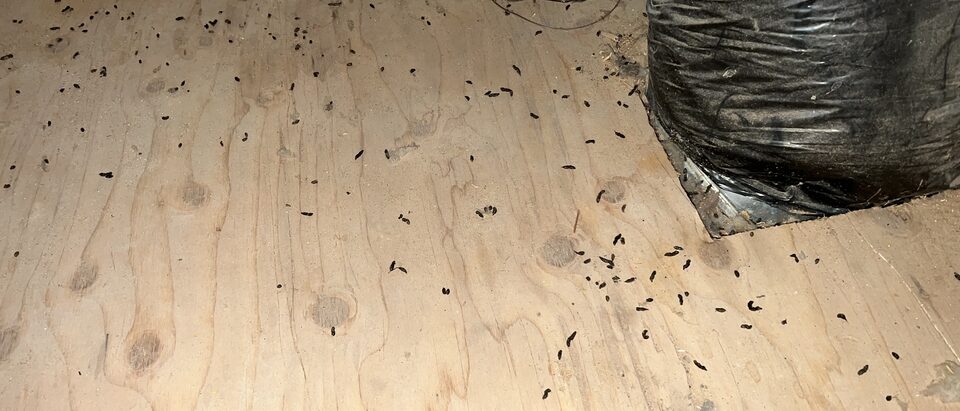
- Guano piles. Bat droppings build up right under the roost. Bat guano crumbles into a sparkly powder when you crush it, unlike mouse droppings, which stay hard.
- Urine stains. Bat urine leaves a yellowish-white stain on wood and insulation, and over time it can soak through to the ceiling below.
- An ammonia smell. A strong ammonia odor means an active or recent roost.
- Daylight. With the lights off, any pinpoints of daylight through the roof or vents are potential entry points.
Step 4: Use a Borescope
For the spots you can’t reach, a cheap borescope that plugs into your phone is worth every dollar. You can snake it into gaps and wall cavities to confirm bats are in there before you start any work. It saves you from sealing in bats you didn’t know were there.
Step 5: Write It All Down
Mark each entry point with chalk or tape, number it, and note where it is. That list is what you’ll work from during exclusion, when you install one-way valves at the main exits and seal everything else.
Tools You’ll Need
- A bright LED flashlight
- A sturdy ladder rated for your roof height
- Binoculars for checking the roofline from the ground
- A phone borescope for the tight spots
- A notepad and marker to document what you find
- An N95 respirator, gloves, and coveralls for the attic
Safety note: Attics are dangerous, insulation hides gaps in the joists and exposed nails are common. If you’re looking at a colony of fifty or more bats, guano more than a couple inches deep, or structural damage, call a licensed exclusion pro instead of going in yourself.
Frequently Asked Questions
A thorough outside-and-inside inspection takes a few hours for an average single-family home. A complex roofline or a big house can take a full day.
You can, but it’s harder. In cold climates bats hibernate or go into torpor, so dusk surveys don’t tell you much. Look for guano and staining instead of counting exits.
If you can’t safely reach your roofline, you have a complex roof, or you’re looking at a large colony, hire someone. Otherwise a careful homeowner can do the basic version I’ve described.
It runs a couple hundred dollars in most areas, and a lot of companies credit the fee toward the exclusion work if you hire them for it. Ask up front.
The Bottom Line
A bat inspection is just methodically finding every gap, and it starts outside at dusk. Watch where they leave, check the usual entry points, confirm with the droppings and stains inside, and write it all down. Then, when exclusion season rolls around, you’ll know exactly where to work.