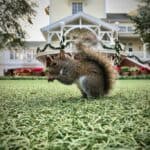
Got squirrels partying in your insulation? Time to kick them out and fix that mess. First, assess the damage and find their entry points while wearing proper safety gear (respirator, goggles, gloves – this isn't a fashion show). Clear the area and lay down plastic sheeting before removing contaminated insulation with a HEPA vacuum. Sanitize everything thoroughly, then seal those sneaky entry points with hardware cloth or metal flashing. Install new cellulose insulation – it's tougher for those furry vandals to destroy. Secure any exposed wiring, and set up monitoring to catch future troublemakers. But that's just the start of your squirrel-proofing journey.
Assess Damage and Entry Points
Table of Contents
A thorough inspection of your attic space serves as the essential first step in addressing squirrel-damaged insulation.
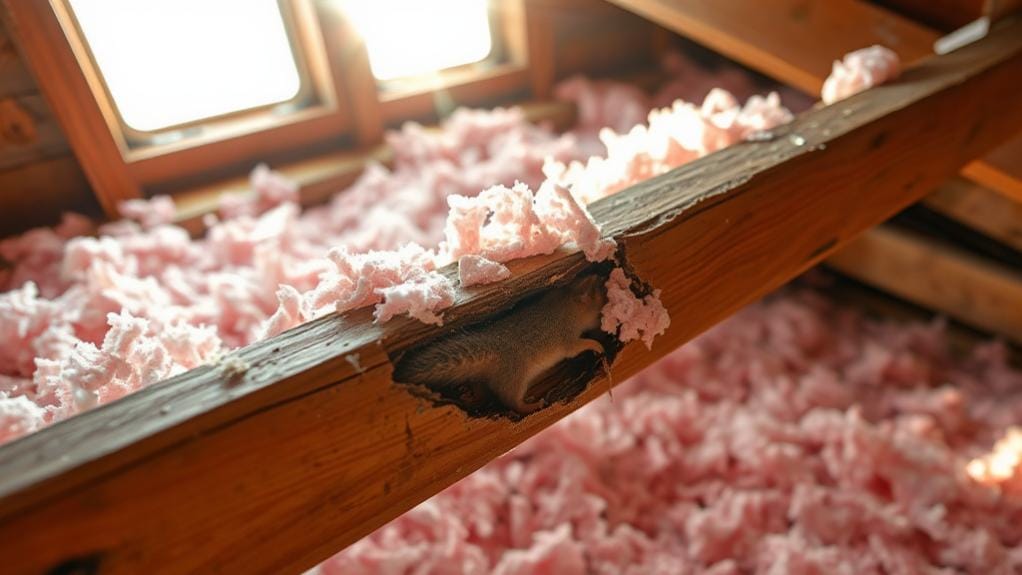
Let's face it – those furry invaders aren't exactly neat houseguests. You'll need to assess damage like a detective hunting for clues. These resourceful creatures often build elaborate woven nests using materials they find, including your home's insulation and any soft materials nearby.
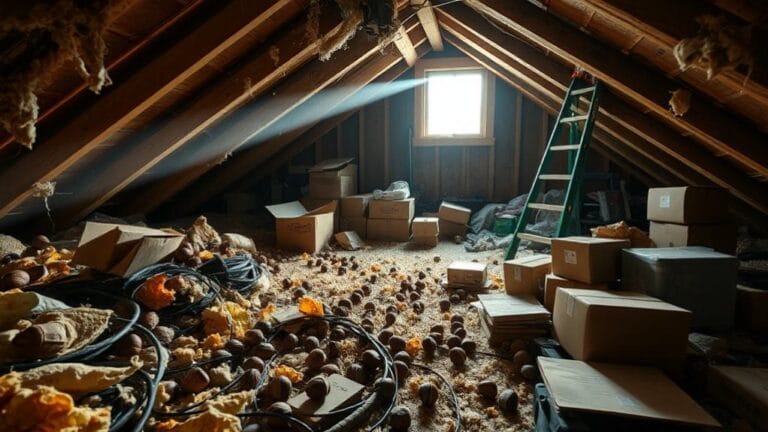
Start by scanning your attic for these telltale signs:
- Droppings (yeah, the gross stuff)
- Disturbed or torn-up insulation
- Nests made from your precious insulation
- Dark stains on materials
Next, channel your inner home inspector and examine the exterior.
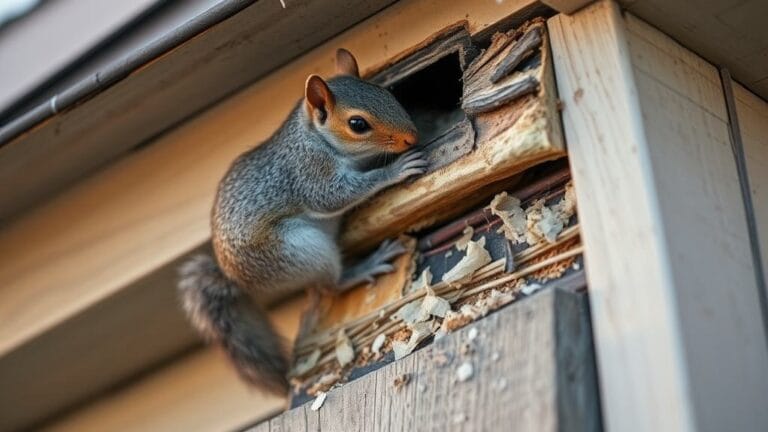
Those sneaky critters usually enter through:
- Gaps in roof eaves
- Loose or damaged gable vents
- Holes in siding
Pro Tip: Measure every single hole you find. Trust me – guessing sizes won't cut it when you're sealing entry points later.
If the damaged insulation looks extensive, don't play hero.
Call a professional before things get worse.
Gather Safety Equipment
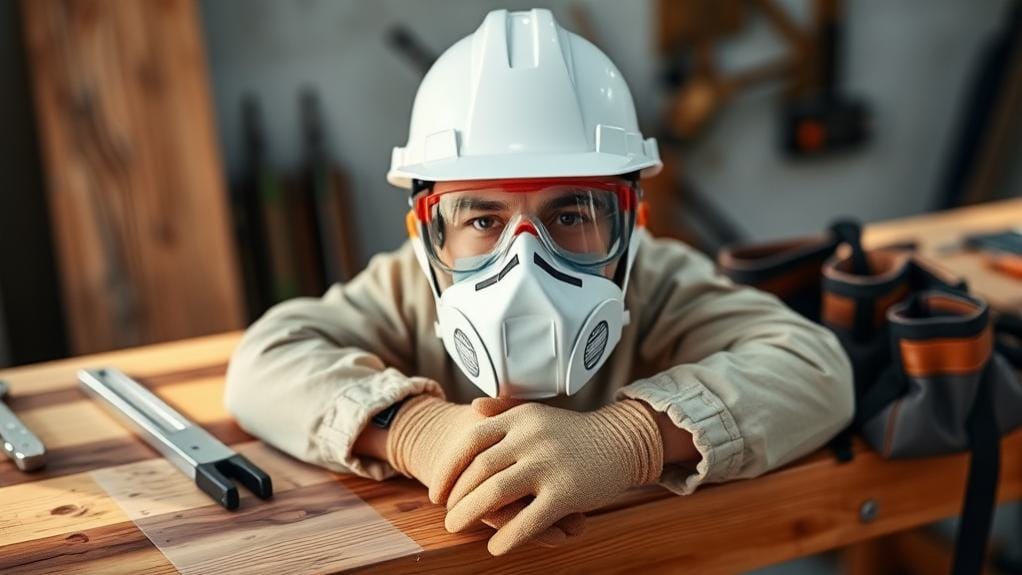
The right safety gear stands between you and a world of potential health hazards when tackling squirrel-damaged insulation.
Let's face it – crawling around in attic insulation isn't exactly a day at the beach, so you'll need proper safety equipment. When selecting gloves, look for top-grain leather options with double-layered construction to protect against any surprise squirrel encounters.
Here's what you absolutely must have (and no, a bandana over your face won't cut it):
- A proper respirator – because breathing in rodent droppings isn't on anyone's bucket list
- Heavy-duty gloves – your hands will thank you later
- Safety goggles – fiberglass in your eyes is never fun
- Long sleeves and pants – trust me, fiberglass itch is real
- Sturdy ladder – because an ER visit isn't part of this project
*Pro Tip: Double-check all your safety gear before heading up. You don't want to realize you forgot something halfway through the job.*
Clear and Contain Work Area
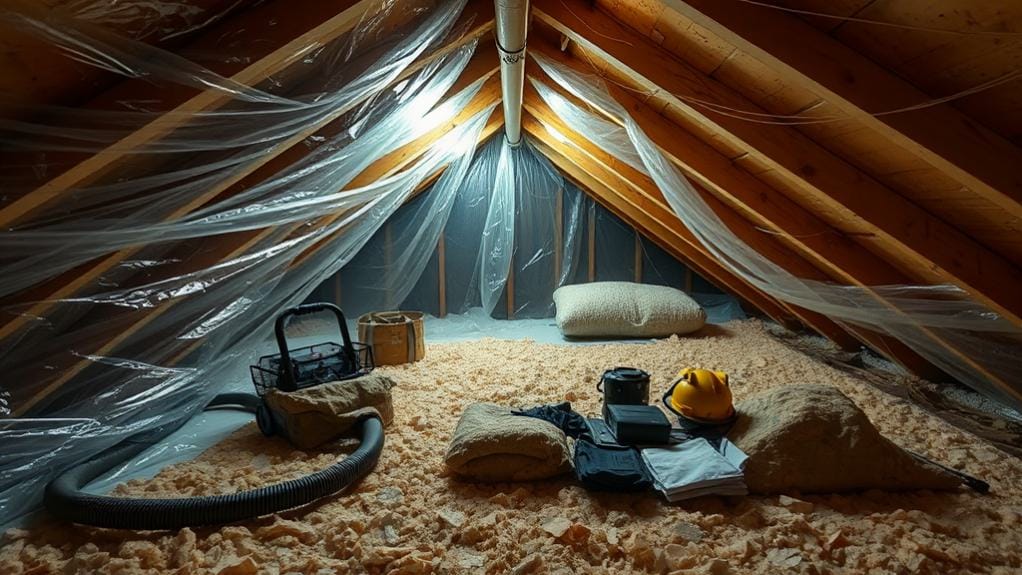
Now that you're properly suited up for safety, let's prepare your workspace. Your attic's about to become your temporary office – minus the coffee machine and ergonomic chair.
Protecting energy efficiency starts with a properly contained work area, especially when dealing with damaged insulation that squirrels have torn up for nesting.
Start by clearing out every bit of debris and random junk from your work zone. Trust me, tripping over holiday decorations while handling insulation isn't exactly a fun time.
Next, contain your workspace like a pro:
- Lay down plastic sheeting to create a sealed-off area
- Set up fans near windows or vents for proper airflow
- Keep your tools organized in one spot (no wandering around like a lost puppy)
Pro Tip: Double-layer your plastic sheeting where you'll be kneeling or moving frequently. Those tiny fiberglass particles are sneaky little devils that love finding gaps.
Remember: A clean, contained workspace is your best friend in this battle against squirrel damage.
Remove Contaminated Insulation Material
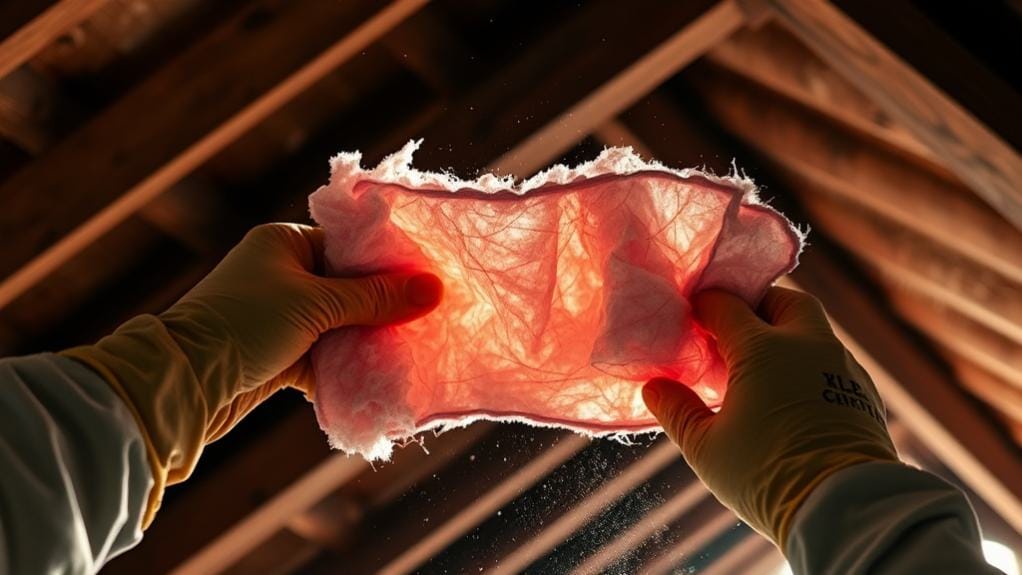
Safety-conscious removal marks your next critical step in this repair process. Don't even think about skipping the protective gear – your lungs will thank you later.
While Havahart trap options work well for catching the culprits, dealing with their damage requires extra precaution. Suit up with a respirator, gloves, and goggles before you remove damaged insulation. No shortcuts here, folks.
Here's your battle plan:
- Spray the insulation with water first (yes, really – it keeps nasty particles from going airborne)
- Fire up that HEPA-filtered vacuum to remove damaged material (regular vacuums won't cut it)
- Double-bag everything you remove (those squirrels left some lovely "presents" you don't want spreading around)
Pro Tip: Think you're done? Think again. Hit the area with biohazard cleaner afterward. Those tiny troublemakers left more than just visible damage.
Remember: Local regulations matter. Dispose of contaminated materials properly – this isn't your average trash day material.
Sanitize the Affected Space
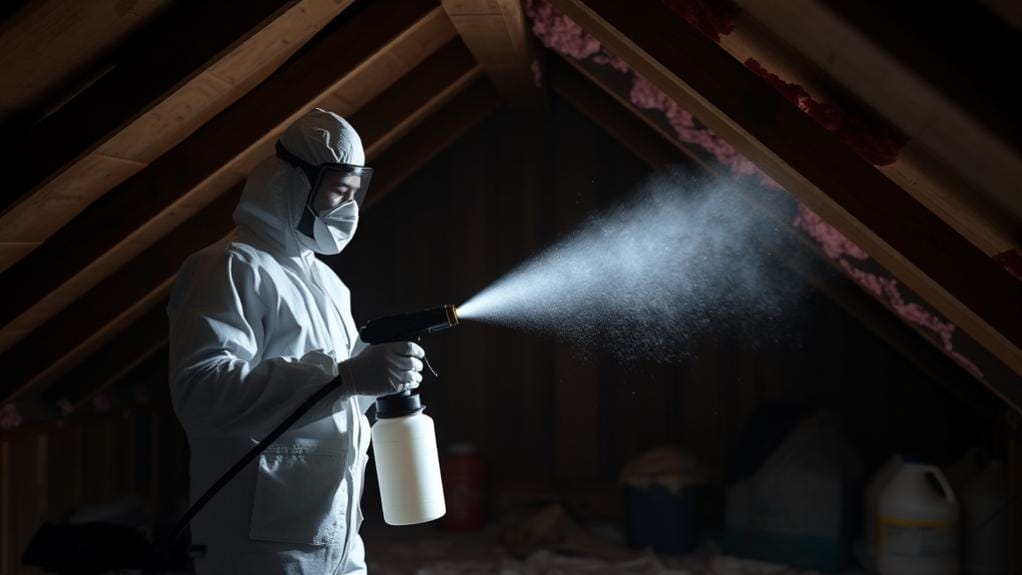
Proper sanitization stands as your critical defense against harmful pathogens left behind by squirrel invaders. After removing nesting materials and dreys from your insulation, thorough cleaning becomes essential.
Don't even think about skipping your safety gear – unless you fancy a trip to the doctor's office. Put on those gloves, mask, and goggles before you start.
Here's your battle plan:
- Mix your specialized biohazard cleaning solution with water. Trust me, regular household cleaners won't cut it against these nasty critters' leftovers.
- Spray every contaminated surface thoroughly. Let that solution sit and do its magic for the recommended time.
- Pack all the gross stuff into sealed bags. No shortcuts here – proper disposal prevents spreading those lovely contaminants around.
*Pro Tip: Keep those windows open while you work. Nobody wants a moldy attic on top of squirrel damage.*
Seal Access Points
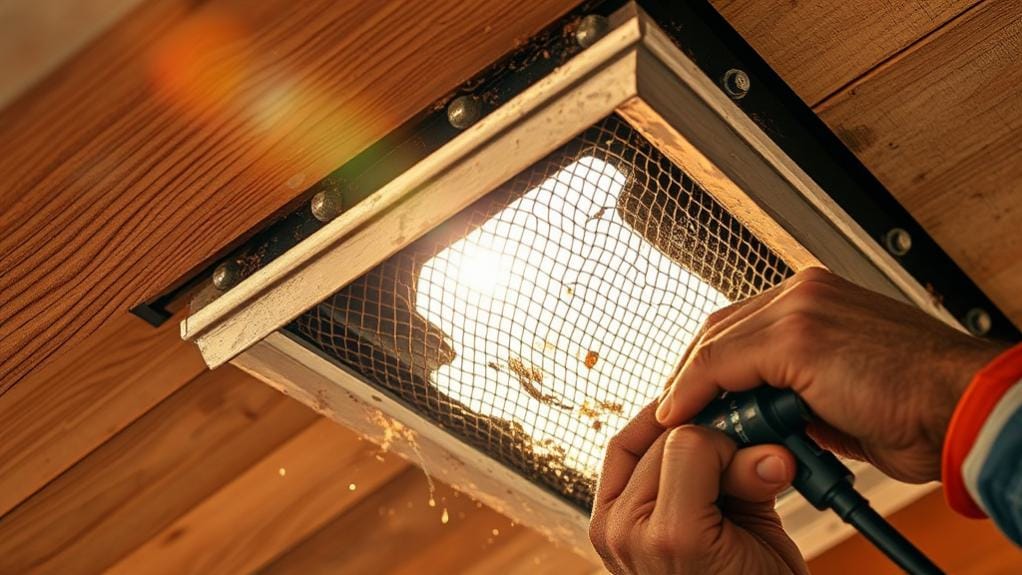
Blocking every squirrel entry point serves as your critical next step in preventing future damage to your insulation.
Those sneaky critters will try anything to get back in, so you'll need to be thorough.
Start by inspecting these prime entry spots:
- Roof eaves and gable vents
- Holes in siding
- Any suspicious gaps larger than a quarter
Here's how to seal access points like a pro:
- Cover large openings with hardware cloth or metal flashing – and don't skimp on the fasteners
- Fill smaller gaps with foam insulation or caulk
- Add construction adhesive around edges (trust me, they'll try to chew through)
*Pro tip: Don't assume you've found every entry point on the first pass. Those furry ninjas are creative. Check your repairs weekly for the first month to catch any spots you missed.*
Install New Insulation
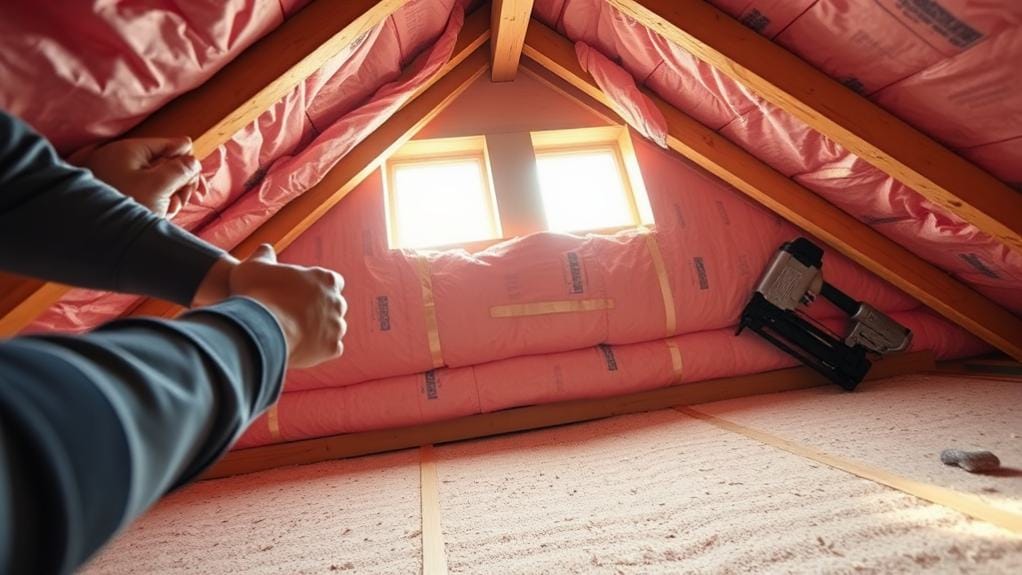
In light of removing the damaged insulation, it's time to install fresh material that better resists squirrel damage. You'll want blown-in cellulose – it's your new best friend against those pesky rodents. Trust me, they hate it way more than fiberglass.
| Installation Step | Why It Matters | Pro Tip |
|---|---|---|
| Seal Bypasses | Prevents drafts | Check junction boxes twice |
| Match R-Value | Meets local code | Check your climate zone |
| Hire Pro | Proper equipment | Get multiple quotes |
Don't try to be a hero here – this isn't a DIY YouTube moment. Call a professional insulation contractor who has the right equipment and know-how. They'll guarantee proper installation and distribution of your new insulation. Pro tip: Make them prove they've sealed every single bypass before blowing in the new stuff.Once installed, inspect thoroughly for gaps – those sneaky squirrels love finding weak spots.
Secure Pipes and Wiring
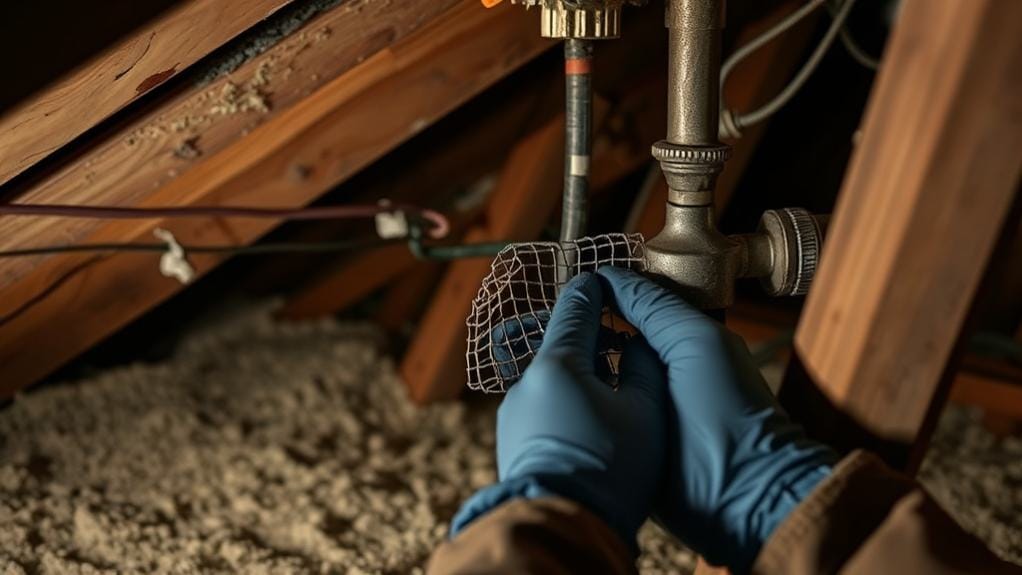
After securing your new insulation, your attention needs to shift to protecting your attic's infrastructure.
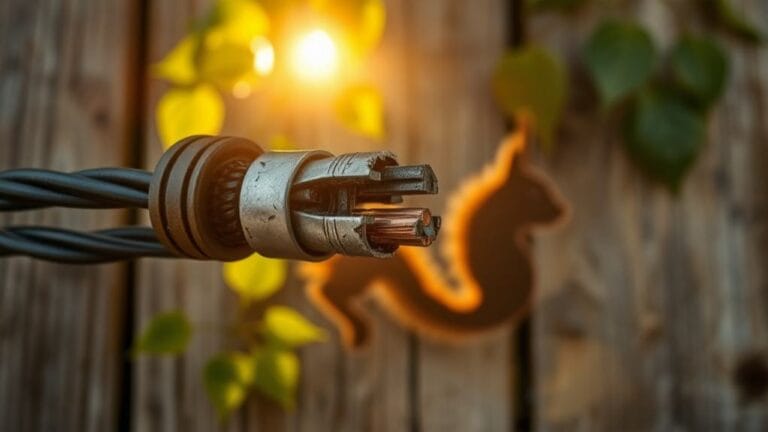
Those pesky squirrels love nothing more than turning your wiring into their personal chew toys – and that's a fire hazard waiting to happen.
Here's what you'll need to do:
- Thoroughly inspect all visible wiring and pipes for signs of damage
- Cover exposed wiring with metal conduit (because squirrels hate metal – take that, rodents!)
- Secure any loose pipes with sturdy brackets
- Apply protective foam sleeves around pipes
Pro Tip: Don't skip regular maintenance checks. Even the tiniest gap can become a squirrel's VIP entrance.
Think you're done? Not quite.
Double-check all your protective measures. One missed chewed wiring spot could mean the difference between a cozy home and an unwanted light show.
Test Insulation Performance
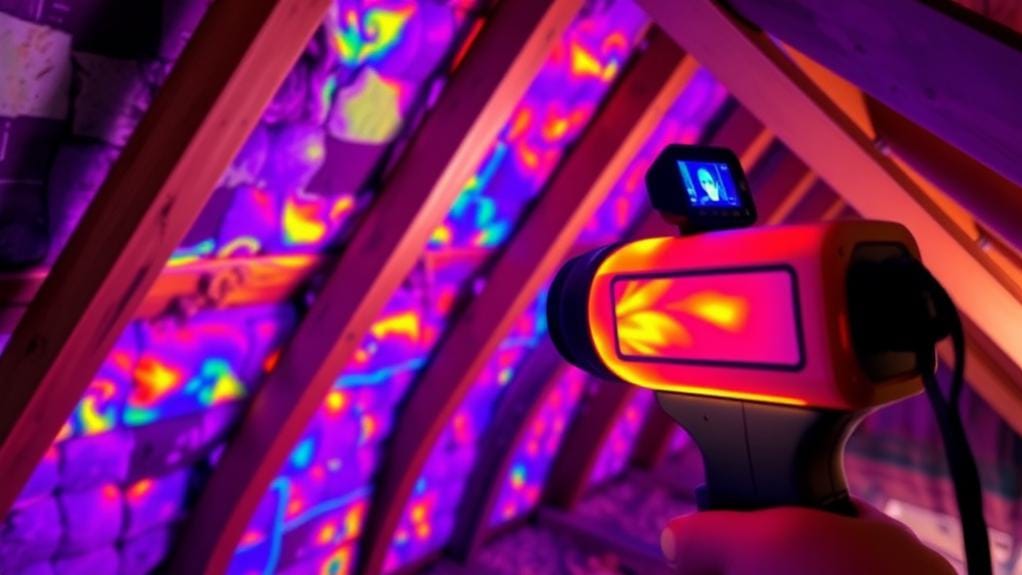
Once you've completed the repairs, testing your insulation's performance is essential for ensuring your efforts weren't in vain.
Let's face it – nobody wants to discover their hard work was pointless because they skipped this vital step.
Check these key areas to test insulation performance and air flow (trust me, your wallet will thank you later):
- Use a thermal imaging camera to spot those sneaky cold spots you can't see with your naked eye
- Check the R-value – it's like a report card for your insulation's effectiveness
- Look for obvious damage like tears or squirrel "presents" that'll wreck your insulation's performance
- Conduct an airflow test around windows and doors – if you feel a draft, you've got work to do
- Get a pro to do a blower door test if you're serious about knowing your home's real efficiency
*Pro Tip: Don't skip the thermal imaging – it's worth every penny to find hidden problems before they become expensive headaches.*
Monitor For Future Activity
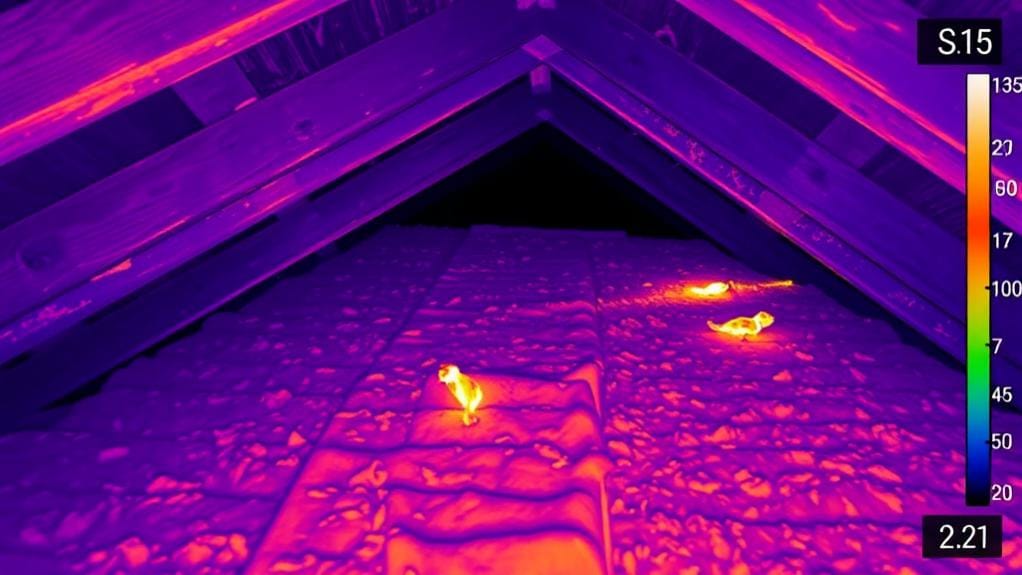
Testing your insulation's performance is just the beginning – staying vigilant against future squirrel invasions will protect your repair investment.
You'll need an ongoing plan to monitor for future activity before those fuzzy terrorists try making your attic their vacation home again.
Set up these essential monitoring measures:
- Install motion-activated cameras in key attic areas (those sneaky squirrels hate paparazzi)
- Check monthly for fresh droppings or new nesting materials
- Look for gnaw marks on wood beams and insulation
- Watch your energy bills for unexpected spikes
Pro Tip: Fall and spring are prime squirrel invasion seasons. Schedule extra inspections during these times.
Partner with local wildlife experts to stay informed about squirrel activity in your area.
Trust me – it's easier to prevent a second invasion than to repair more damage.
Frequently Asked Questions
How to Repair Squirrel Damage?
You'll need to assess damage, wear safety gear, remove contaminated materials, seal entry points, and replace damaged items. Don't forget to clean thoroughly and prevent future issues with proper barriers and deterrents.
How to Fill a Squirrel Hole?
First locate the hole, then clean the area wearing protective gear. You'll need to fill it with spray foam insulation or wire mesh and adhesive. Don't forget to seal nearby entry points too.
How to Patch a Hole to Keep Squirrels Out?
You'd think squirrels love cozy homes, but don't let them crash yours! Cover holes with metal flashing or 1/4-inch hardware cloth, secure it firmly, and seal gaps with foam or caulk for good measure.
Do Squirrels Tear up Insulation?
Yes, squirrels will tear up your insulation if they get into your attic. They'll shred it for nesting materials, and their urine and droppings can contaminate what's left, requiring costly replacement.
Last Word
Squirrel damage isn't a joke – just ask Tom from Denver who lost $3,000 in repairs when squirrels turned his attic insulation into their winter resort. You've now got the knowledge to tackle this fuzzy menace head-on. Don't wait until you're hearing tiny footsteps overhead at 3 AM. Check your attic regularly, seal those entry points, and keep your insulation intact. Your wallet (and your sanity) will thank you.

