Table of Contents
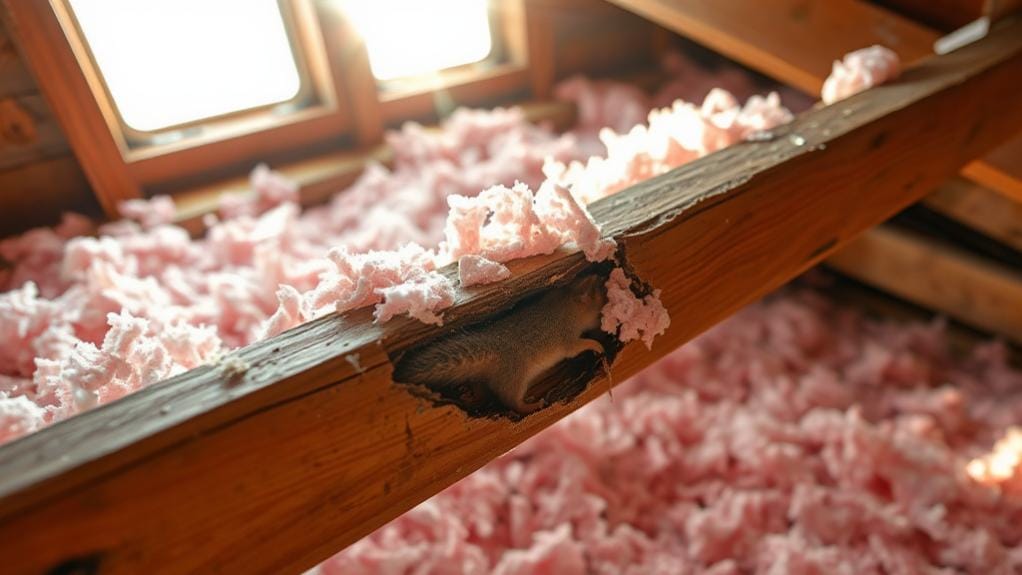
Repairing squirrel-damaged insulation requires removing contaminated material, sanitizing the area, sealing entry points, and installing new insulation. Squirrels tear up fiberglass and cellulose insulation for nesting material, and their droppings and urine can carry hantavirus, leptospirosis, and Salmonella. This guide covers every step from safety gear to final inspection.
Key Takeaways
- Wear an N95 or P100 respirator, heavy-duty gloves, and goggles before entering a squirrel-infested attic.
- Remove all contaminated insulation using a HEPA vacuum and double-bag waste.
- Seal every entry point with 1/4 inch galvanized hardware cloth before installing new insulation.
- Use blown-in cellulose insulation treated with boric acid, which resists pests better than fiberglass.
In This Guide
Safety Gear and Preparation
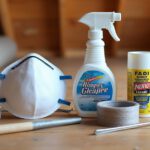
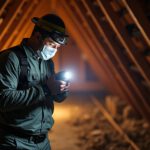
Squirrel droppings and nesting material can contain hantavirus, leptospirosis, and Salmonella. Never enter an infested attic without proper protection. You need:
- N95 or P100 respirator (not a cloth mask or surgical mask)
- Heavy-duty rubber or nitrile gloves
- Safety goggles with side shields
- Disposable Tyvek suit or long sleeves and pants
- Sturdy ladder and good lighting
Removing Contaminated Insulation
- Mist the insulation lightly with water using a spray bottle to keep particles from becoming airborne.
- Use a HEPA vacuum to remove loose debris, droppings, and nesting material first.
- Bag insulation in heavy-duty contractor bags (6 mil minimum). Double-bag everything.
- Dispose per local waste regulations. Squirrel-contaminated materials are biohazard waste in many jurisdictions.
Sanitizing the Attic Space
After removing all contaminated material, spray every surface with a biohazard-grade disinfectant or a 1:10 bleach solution. Let it sit for at least 10 minutes (the dwell time required to kill pathogens).
Sealing Entry Points
| Entry Point | Sealing Method | Material |
|---|---|---|
| Gable vents | Cover with mesh | 1/4 inch hardware cloth |
| Soffit gaps | Cover with mesh | 1/4 inch hardware cloth |
| Pipe penetrations | Pack and seal | Steel wool + expanding foam |
| Ridge vents | Replace or reinforce | 1/4 inch hardware cloth |
| Foundation cracks | Fill with hydraulic cement | Hydraulic cement |
Secure all hardware cloth with exterior-grade screws and washers every 4 inches. Do not use staples alone; squirrels can pull the mesh loose.
Installing New Insulation
Use blown-in cellulose insulation for the replacement layer. Cellulose is treated with boric acid, which resists pests better than fiberglass and is less attractive to squirrels for nesting. Match the R-value to your climate zone. Consider hiring a professional insulation contractor for this step.
For more on the complete cleanup process, read our attic cleanup guide.
Frequently Asked Questions
Can I patch damaged insulation instead of replacing it?
No. Once insulation is contaminated with squirrel droppings, urine, and nesting material, it must be removed. Patching leaves behind biohazards and reduces the R-value. Complete removal and replacement is the only safe option.
How much does it cost to replace squirrel-damaged insulation?
Costs typically range from $500 to $2,500 depending on the size of the attic and extent of contamination. This includes removal, disposal, sanitization, and new insulation installation. Professional exclusion work adds $200 to $600.
Can I use fiberglass insulation after squirrel damage?
Fiberglass is not recommended because squirrels find it easy to tear up and use for nesting. Cellulose insulation treated with boric acid is more resistant to pests and less attractive for nesting material.
How do I know if all the squirrels are gone before sealing?
Listen for scratching sounds for 2 to 3 consecutive days of silence. Check for fresh droppings near entry points. Use a paper towel test: crumple a paper towel loosely into the entry hole. If it remains undisturbed for 48 hours, the squirrel is likely gone.
The Bottom Line
Repairing squirrel-damaged insulation is a multi-step process that requires proper safety gear, thorough removal, sanitization, permanent exclusion, and new insulation. Do not cut corners on any step. The health risks from contaminated insulation are real, and incomplete exclusion will lead to re-infestation. If the damage is extensive, a professional wildlife cleanup service is worth the investment.